Updating Scalextric Porsche Super Car
THE CAR IN THIS REVIEW HAS BEEN SOLD. WE CAN MAKE MORE.


|
Updating Scalextric Porsche Super Car |
|
|
|
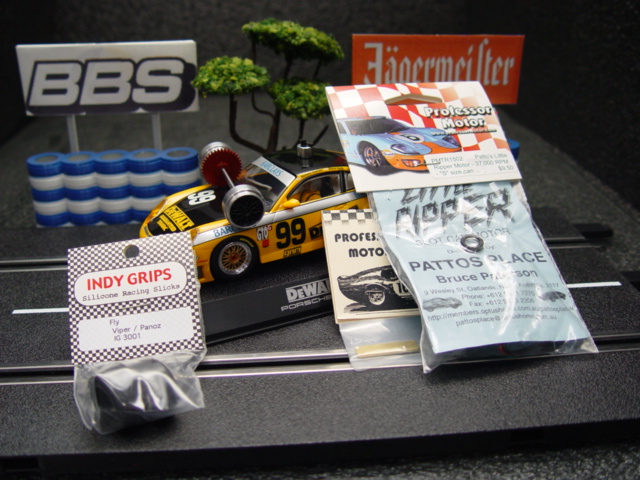
In this version of our Porsche we will be using the following items:1-Scalextric DeWalt Porsche $42.95 1-Slot-it axel kit for sidewinder motors $16.99 1-set Indy Grips $4.00 1-Little Ripper motor $9.50 1-Fly round magnet $2.75 1-Professor Motor bar magnet $2.50. The total cost of this car is $78.69. You will also need a Dremel and Super Glue/Hot Glue. Either one will work. This set up works best with the Professor Motor transformer and controllers. When this review is finished The car will be for sale for $69.99. You won't be disappointed. |
|
THE CAR IN THIS REVIEW HAS BEEN SOLD. WE CAN MAKE MORE. |
|
|
|
This is the stock Scalextric De Walt Porsche |
|
|
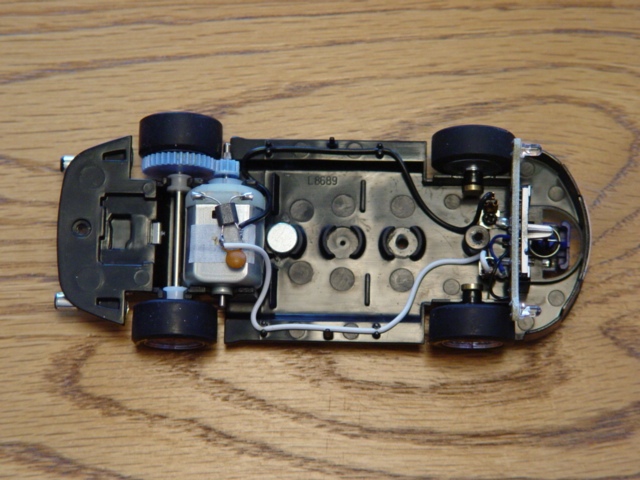
This is the stock chassis |
|
|
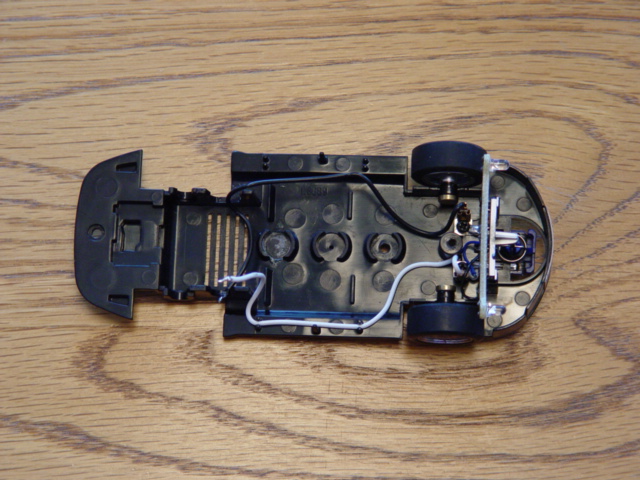
Here we removed the rear axle, motor, and magnet |
|
|
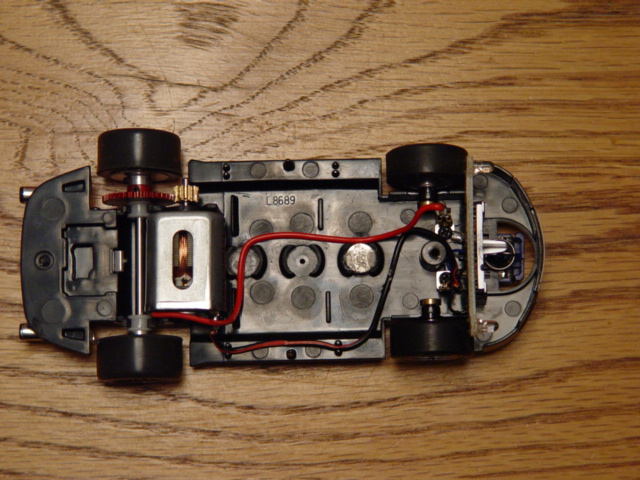
With your Dremel you will need to trim off some plastic to the left and right of the axle mount. Be sure to only take off a little at a time. Once your motor fits tight, assemble the rear axle kit with the Indy Grips and snap it into place. We used the nylon bushing rather than the brass. |
|
|
On the motor you will need to bend the rear ear that the lead (red wire) goes to. Once the spur gear and the crown gear are fitted together apply super glue where the motor meets any plastic on the motor mount. You should do this on all your cars to prevent any motor twist. (Read below for Dan's tip on this subject) I glued the red wire down so it did not get in the way when I mount the body. On this car I reused the Scalextric lead tips for ease. Note that the round magnet has been moved forward. |
|
|
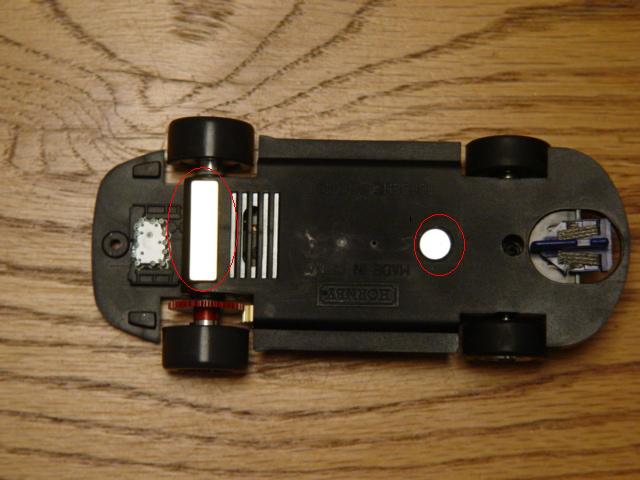
The front magnet was lowered flush with the chassis using a 3/8 drill bit. |
|
|
Do not push the magnet to far through, you will case too much drag which will damage the motor. Here we have glued the Professor Motor magnet to the under pan, which has plenty of clearance. |
|
|
This is the finished product. You can paint the rear wheels gold or you can paint the front centers black (I like that choice). Remember this car was built to run on 16V to 18V |