|
I have noticed more and more
people buying and racing the Carrera 1/24 cars lately. I prefer to
race these without the magnets. I have found this to be the easiest way
to make the cars equal. At the moment I have about 5 body types running
nearly identical laps times. Here are a few tips you can use when
setting yours up for non-mag racing.
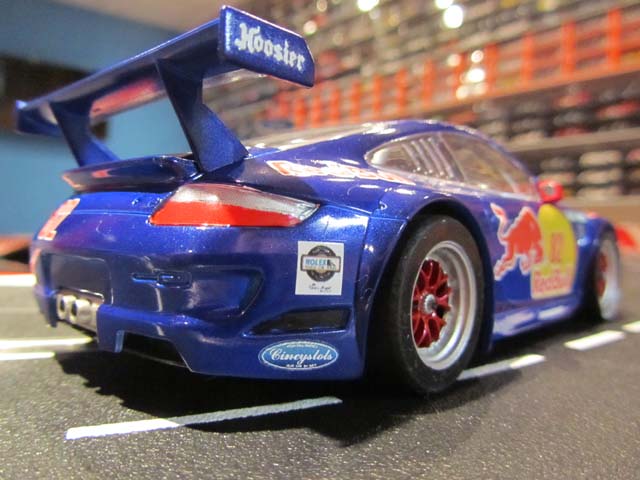
First you'll need to choose
the weapon of your choice. I chose the Porsche. I like these
because they are light and give you more options when adding weight.
We'll get back to that in a little bit. So here we go.
Lets flip this bad boy over.
The first thing to do is separate the body and chassis by removing
the 4 screws shown below.
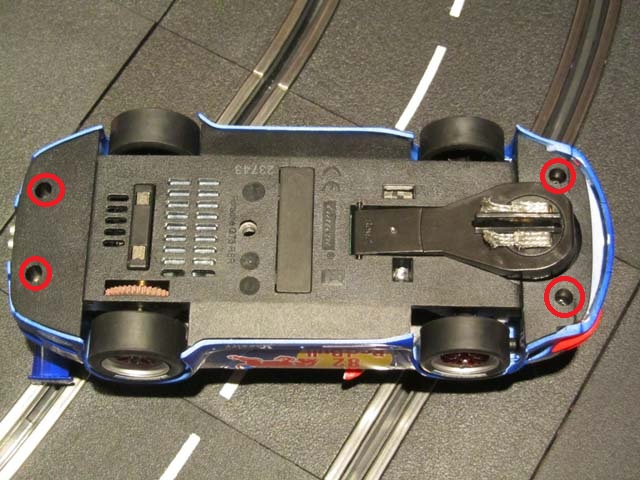
This is what
your stock Carrera Porsche will look like once you've opened it up.
KEEP TRACK OF WHERE THE SCREWS CAME FROM!! The first time it can
be confusing.
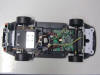
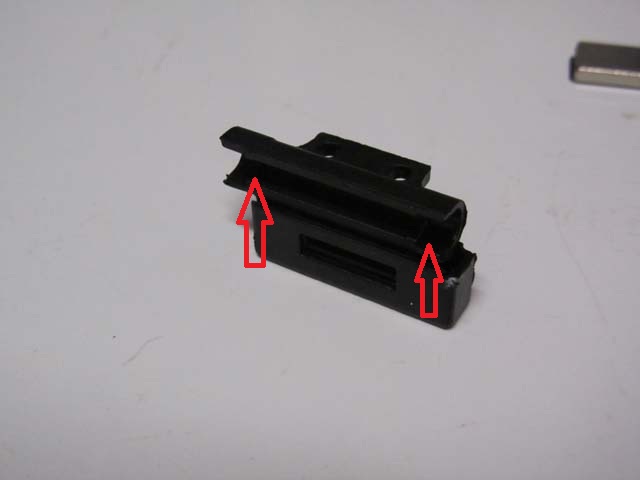
Now remove the 4 screws
circled below. The two screws on the right hold in the motor
pod as well as the front magnet. Remove the magnet and place
the magnet holder back in the chassis.

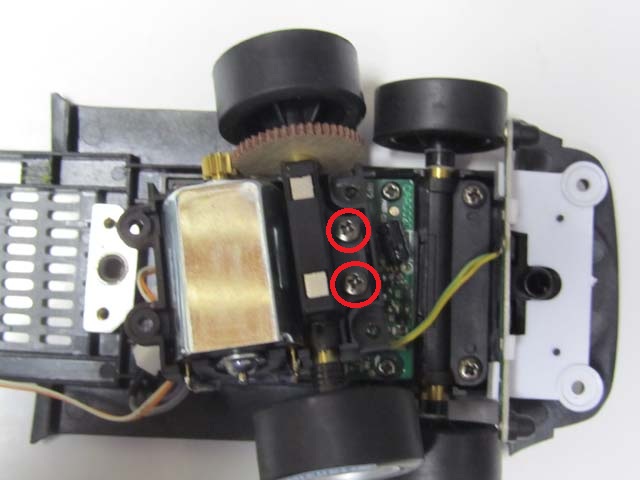
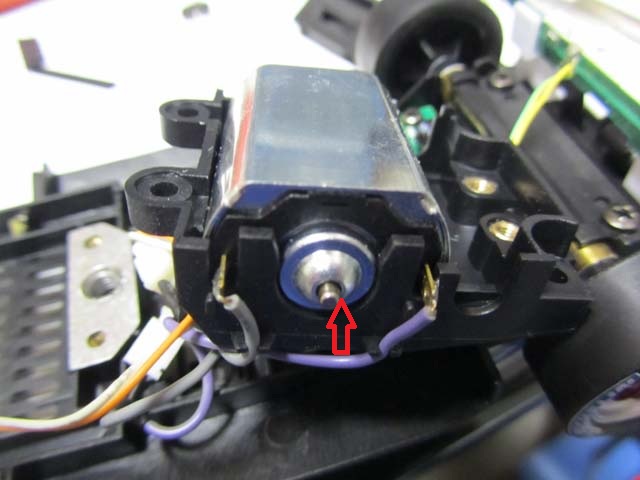
Flip the
motor pod over and you'll see 2 more screws, these hold on the last
magnet. Unscrew those and slide the magnet out.
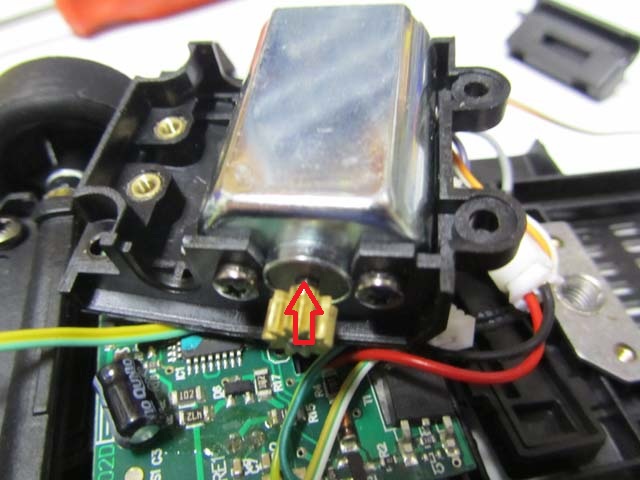
O nce the two screws are
removed, pop off the axle carrier seen below. This is where you
will have to decide how skilled you are. Sometimes the axle carrier
is loose on the axle bushings. It's not a big deal but some people
like it to be nice and tight. To do this you will need to heat up
the carrier with a mini torch or a lighter and bend it so the
bushings fits nice and snug. Personally, I've never done it but
I've watched Rubirosa do it a few times.
I normally put a dab of oil
on either end of the motor as you can see in the following 2 photos.
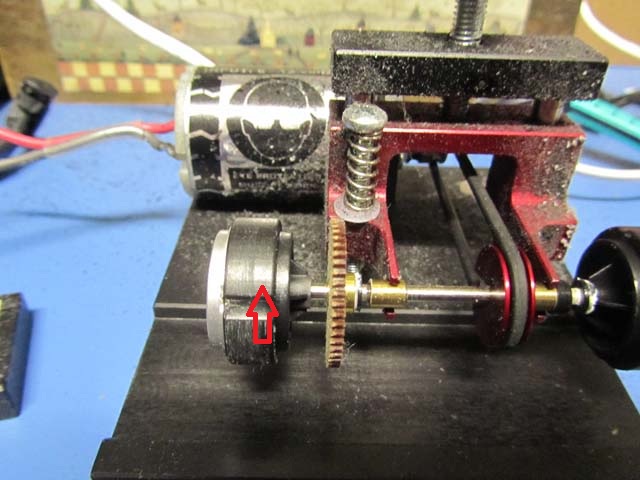
This is when the
tedious part of this project begins for those with the luxury of a
tire truer. Place the axle on the truer and sand the wheels until
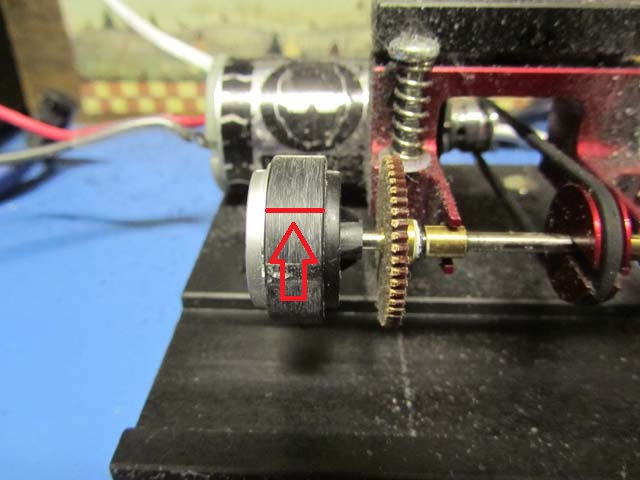
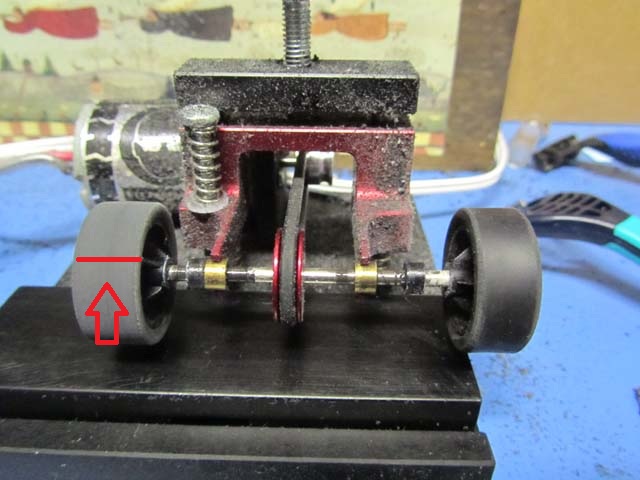
you have even wear all the way around. In the first photo you see a
partial truing of the rim. In the second you will see what should
be true/truer rim. Do this to the front and rear wheels. Be very
careful not to sand your gear. Been there done that, oops. The
axles/wheels are two areas Carrera could use a little improvement.
The wheels don't always get pressed on square so the truing is
especially important.
Do the same thing to the
tires, front and rear. Here
are the tires made by Rubirosa and sold exclusively at Cincyslots.

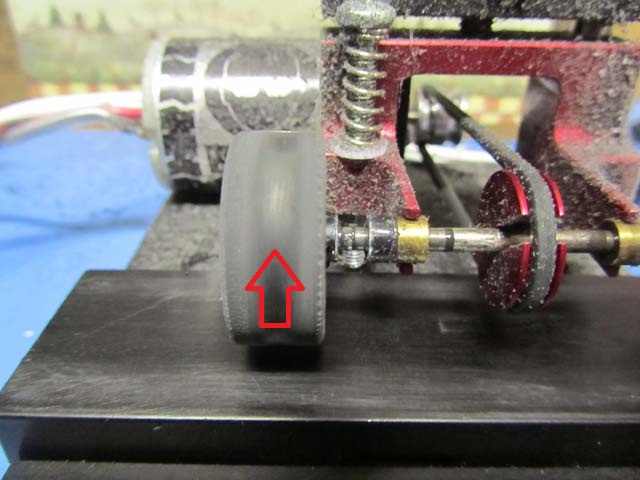
The first photo you see
the partially sanded front tire and in the second the completely
sanded tire. Once the tires are sanded all the way around, take an
old shaver or file and round the edges of the tires like you would a
Supertire. Yes, the fronts too!
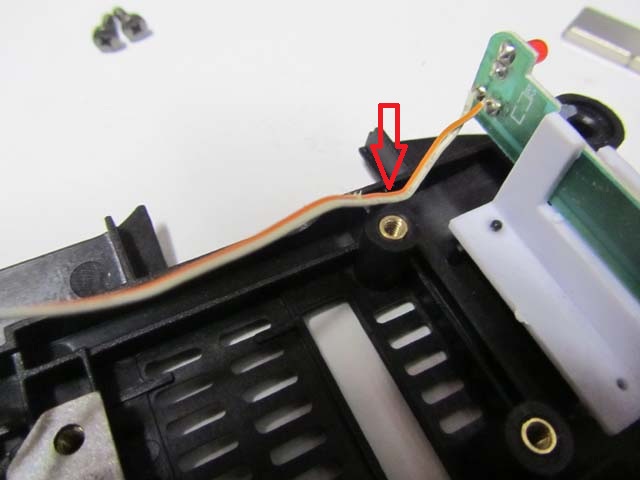
While I had
the rear assembly apart, I took some hot glue and placed it in the
corner of the chassis to hold the light wires in place as seen
below. Some people have reported that over time the rotation of the
axle wears through the insulation. This is a very easy fix.

Before reinstalling the
front and rear axles in the car, be sure to lube the axle bushings.
Ahhh, we're almost ready to
rock and roll. Get your scale. We/I try to keep my cars between
235gm-240gm. This is when your tuning knowledge will come in very
handy. There is no really right way to do this. It's trial and
error. So whatever works for you. I prefer, for the moment to put
a bulk of the weight in the center with a little in the rear and a
little in the front near the guide. When the glue has set, put
everything back together.
I'm sure there is more you
can do but this is a good place to start. Here's what you can end
up with.
|